

Building the 3D Destiny model for Stargate Universe

In the first season of Stargate Universe (SG-U), I had the opportunity of being the Chief Modeler of the Starship “Destiny”. Normally this involves modeling and texturing a ship from concept drawings. However, in this case, due to my experience on Atlantis, I was offered a wider role early in the design process. We commenced work on the ship just as Atlantis was coming to an end. During the conceptual process I received input from visual effects supervisor Mark Savela, producer Brad Wright and Robert Cooper.
Concept stage:
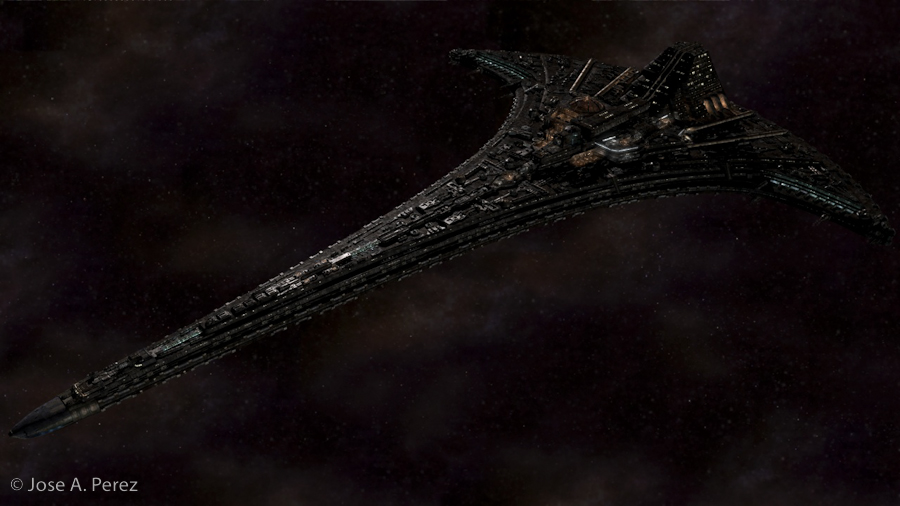
Being a 3D artist, I prefer to work in 3 dimensions, so instead of traditional 2d artwork, I kit bashed together over 25 ship designs from recycled parts combined with primitives and composited them in photoshop for the producers to approve. That said, we did not have a distinct look everyone was happy with. Looking for that distinct silouhette, Brad came up with a simple drawing, which took the shape of a Chevron on the Stargates themselves. At this point the interior real world sets were already being built, established via drawings from artist James Robbins. Coincidentally, James also drew up some external ideas to flesh out Brad’s Chevron concept.
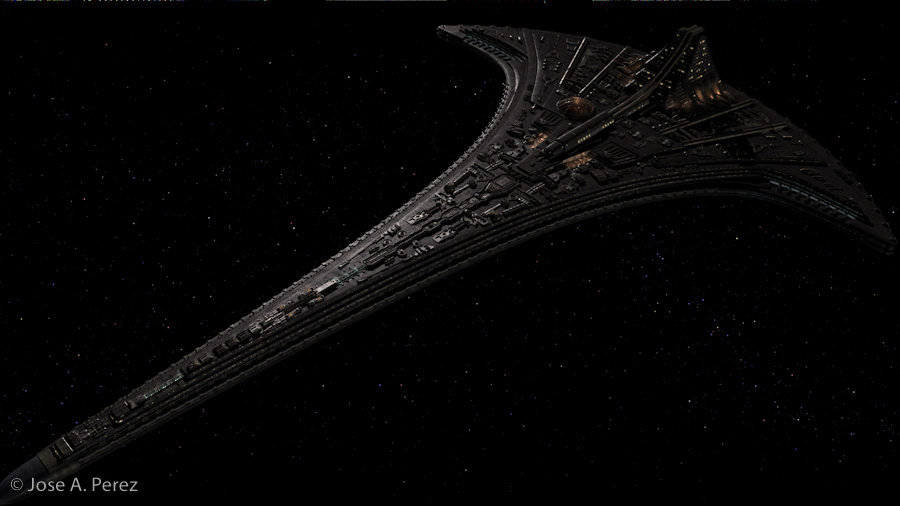
The basic look and feel were nailed. Now it was time to bring the Destiny to life based on Brad and Mark’s direction. The Destiny is a very old “Ancient’s” ship. Huge and similar to a floating city in space almost. It needed to have plenty of detailed areas to explore during the lifetime of SG-U.
Workflow Issues:
As a contractor, I need to provide my final CG models in a format specific to the main studio on the project. Where this gets interesting is that, Stargate has a talented in-house FX team in addition to other houses who also contribute to the show as well. This presents a workflow/pipeline issue. My models need to work across different pipelines/software.
Right tools for the job:
The in-house department worked with a Lightwave version of the ship, while some of the external houses required a Maya version. From the beginning I knew this was going to be the case, however my current workflow is primarily using Luxology’s Modo. Using Modo provides me with a rich and complete set of tools, giving me the ability to deliver my work in many formats regardless of individual studio pipelines.
Building from scratch:
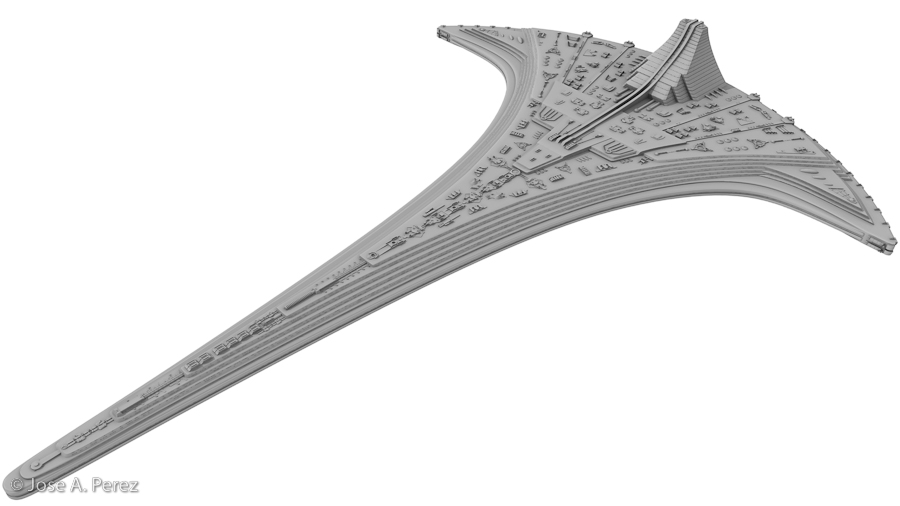
Blocking in that first overall look and feel is very important. Modo makes that very easy with it’s customizable UI, workplane, modeling tools and constraints. I was quickly able to rough out a crude basic look that followed the silouhette established earlier.
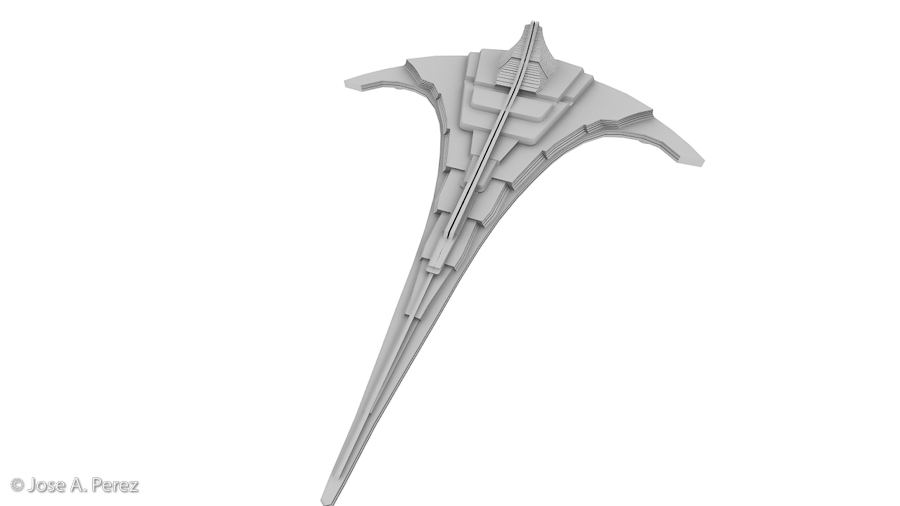
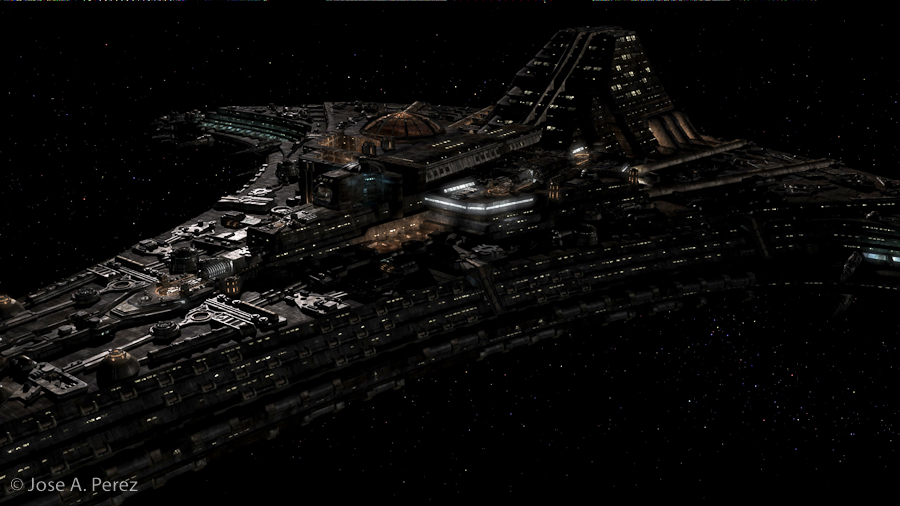
Once I had the basic overall shapes, I move onto smoothing and cutting out higher detail areas, and start laying down temp nurnie/gak details on the surface to establish the foundation. This helps in striking a balance of what will be geometry detail versus texture detail going forward. The medium sized detail chunks serve as a visual cue to supervisors and producers on how scale is affecting the overall look of the ship.
For better or worse, there are lots of changes usually made at this stage. Keeping all parties involved and informed is crucial. You don’t want to go too far down a path and have to turn back. Luxology’s software shines here. I’m able to be efficient and push things around easily, rescaling, while sticking to contours.
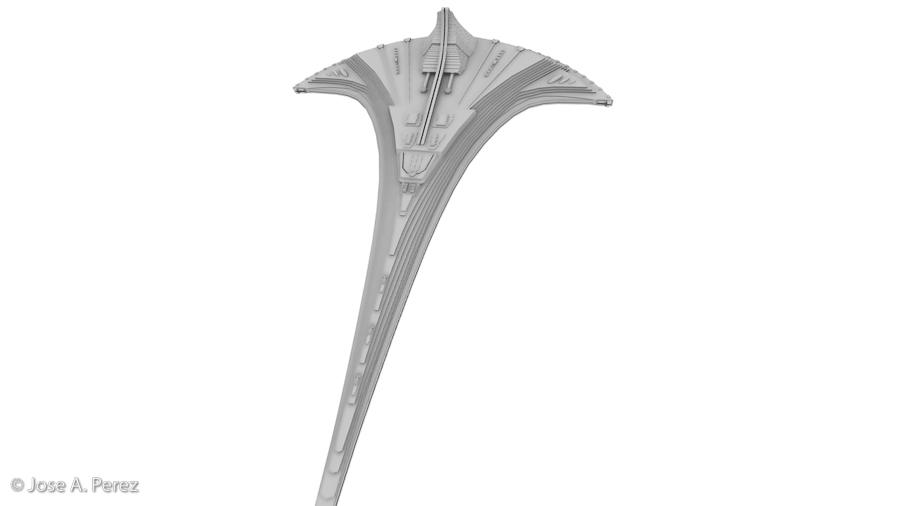
Ok spot check time. Feedback starts dictating to remove floors to streamline the look, scale of windows, and try out different front cone elements. At the same time, while not officially texturing, all involved would like to start seeing a base coat of maps or color to visualize beyond those bare GI test renders. This in turn helps me plan out texture direction. Remove geometry, add geometry, now its starting to cook.
Time to start adding in the smaller details that make up the bulk of the ship, which will be visible on tighter close-up shots. Polygon count is adding up, but no worries, Modo can handle it. However, I do start breaking the ship up into smaller grouped pieces, making it easier for me to zoom in and work on certain areas.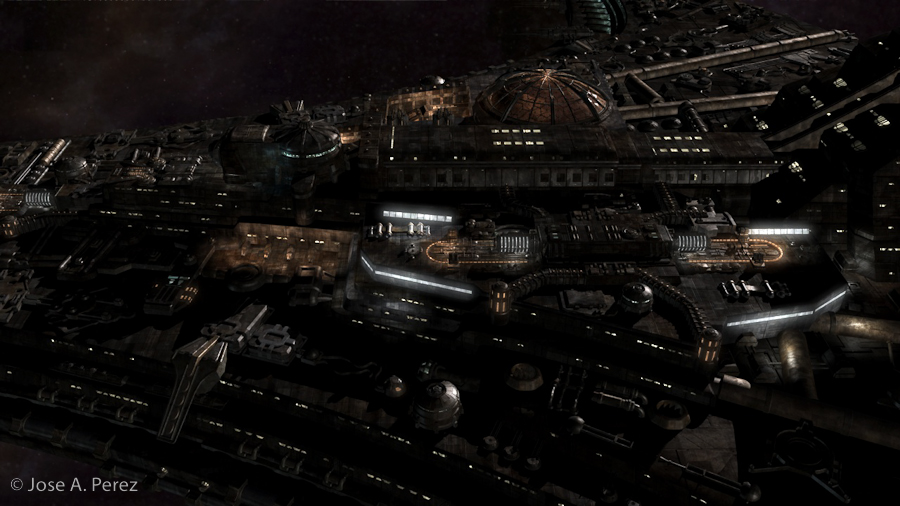
Problems:
In a perfect world you would want to UV map the whole ship for use in Maya and other programs. Reality check, deadline time for using the Lightwave version of the ship is running short. Normally you would bake out occlusion maps, and paint or apply image maps for custom texturing based on the UV’s. But things happen, and you need to find another solution quickly (think outside the box).
(Tip) You can cheat texture mapping on hard surface models in Modo and Lightwave if there is enough geometry to hide creases, edges, and corners that show up with planar and cubic mapping. Especially if you layer up some noise, dirt and occlusion maps in there as well.
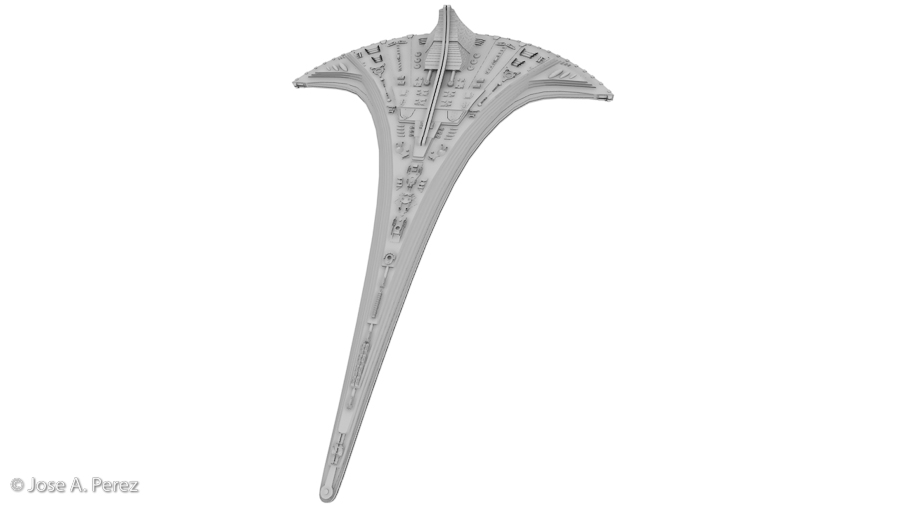
Using Modo’s Shader Tree, I quickly pile on tile-able hull patterns, noise, bump and dirt maps. There is now so much surface geometry on the ship, enabling me to take advantage of all my texture cheats. Again, this is only recommended under extreme cases (time crunch being one of them).
The whole ship is coming together nicely, and texture maps are blending in well. Time to deliver the final Lightwave version of the ship. For all intents and purposes this was originally the final version of the ship I turned in after exporting from Modo to Lightwave.
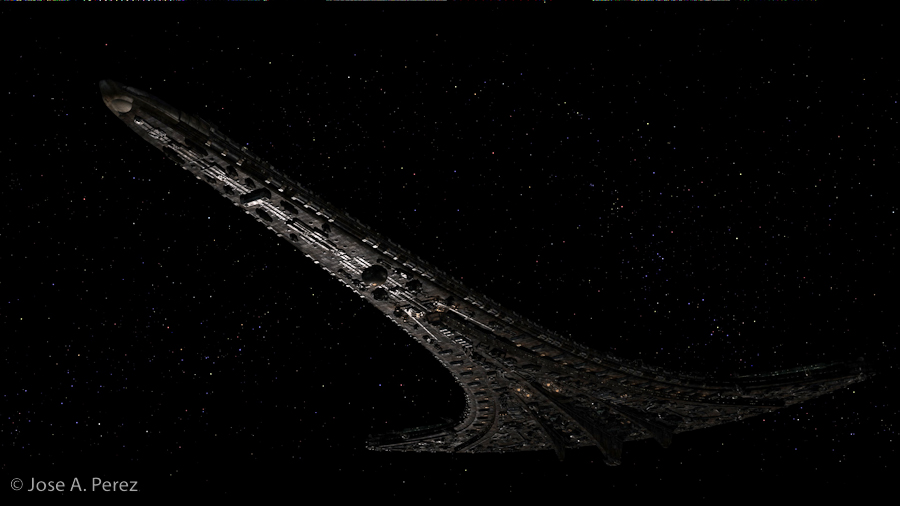
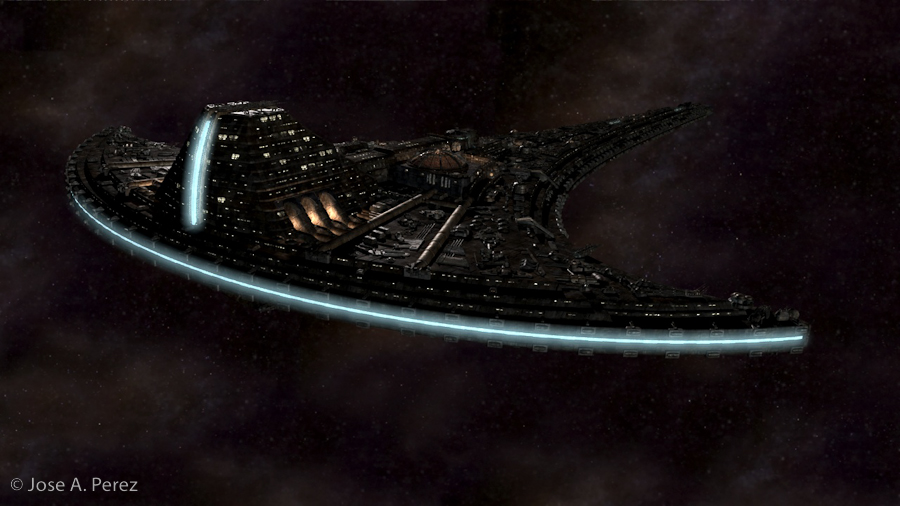
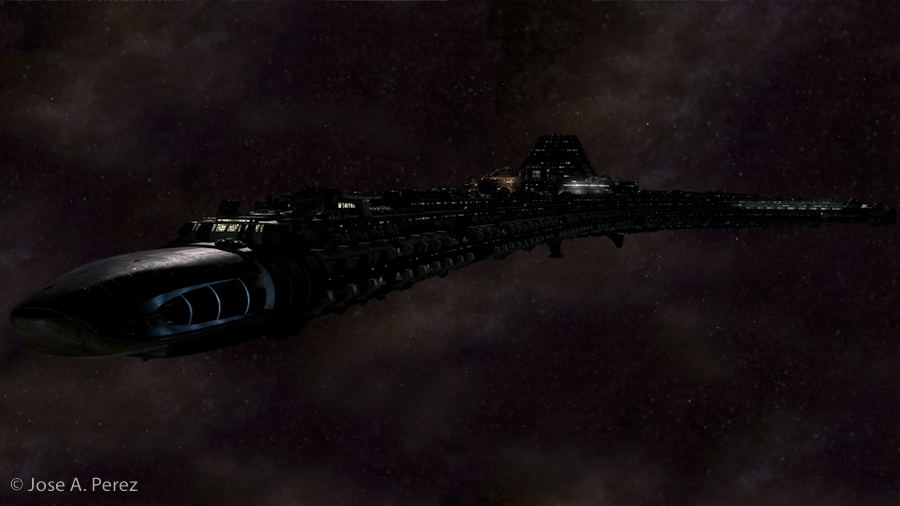
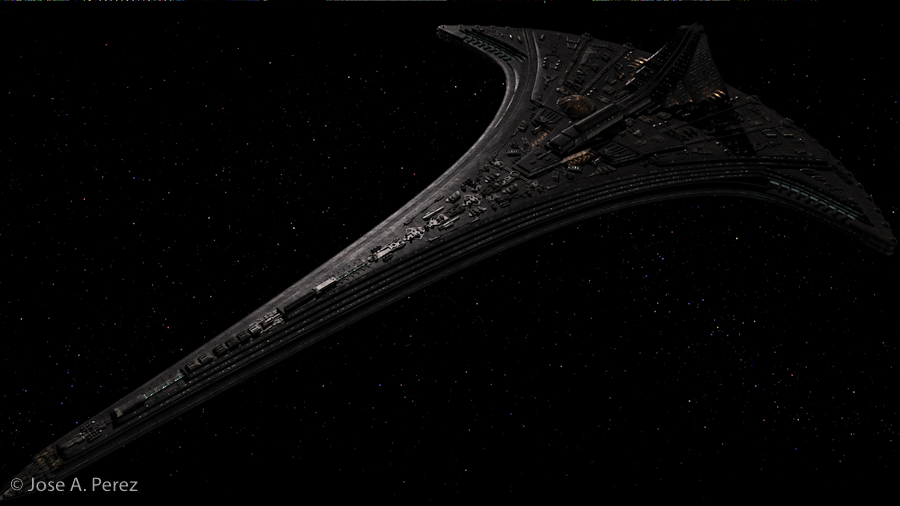
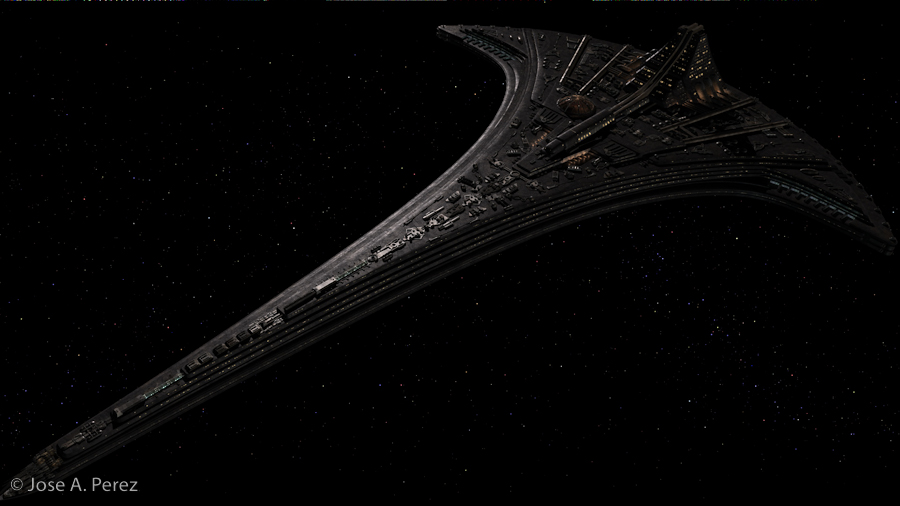
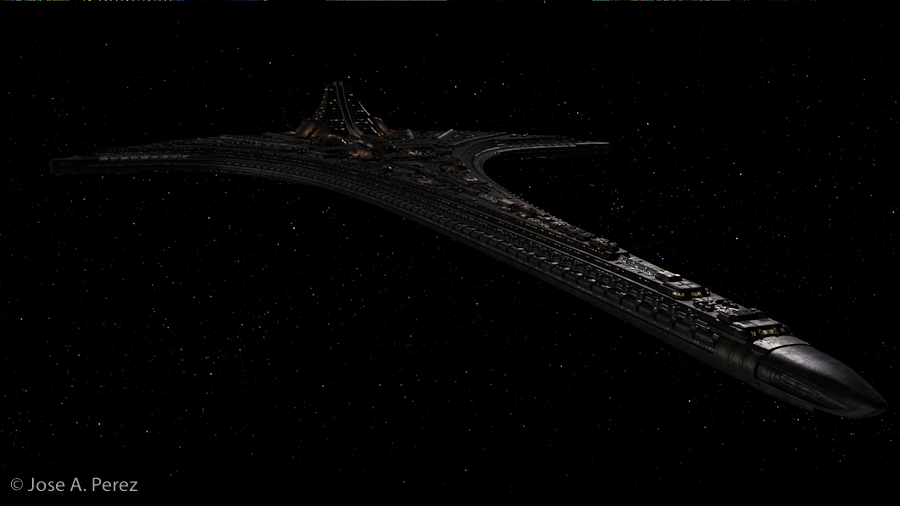
Final Ship:
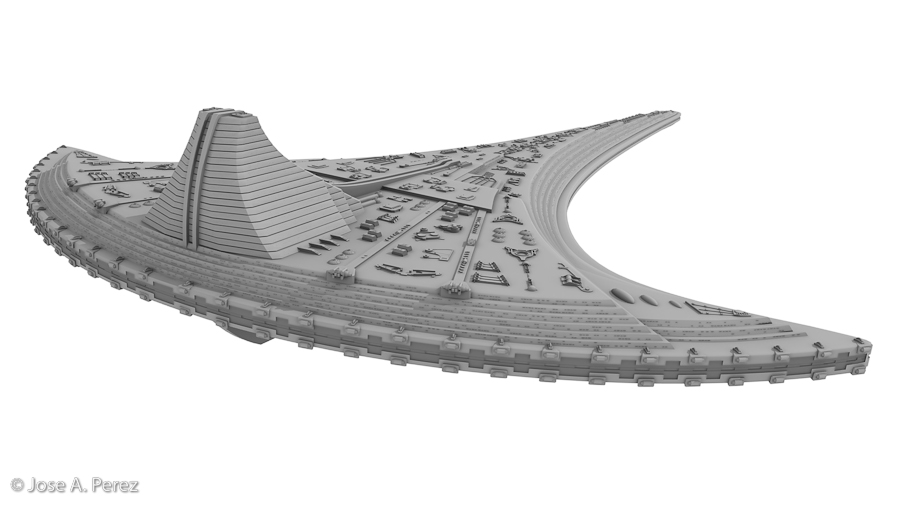
Visual effects are a team effort. Every shot you see in TV or Film, are the results combining the efforts of many talented artists. That said, once my ship was delivered, production took it that extra 10%, and kicked it up a notch to get the final ship you see on screen. In-house FX artists added several guns and smaller details to the sides and rear of the ship, to give more visual interest. The observation deck was enhanced to match up with the real set, and some tweaks to the bottom were done to add some energy collectors. The space shuttles were modeled separately by the in-house team as well.
Are we done yet?
Once the ship had the final stamp of approval, it was sent back to me with the latest changes. The last item on the list of to-do’s was to export a Maya version of the ship for the other houses. Exporting models this complex from Modo/LW to Maya are never easy. However with Modo on my side, I took on the challenge.
Having the ship already broken out into separate groups and layers, I was easily able to work my way, section by section, and use Modo’s UV Unwrap tools to layout working UV’s. Not difficult, just time consuming with all the geometry. Having now a full set or working UV’s, I set out to bake the current set of texture maps into single layered maps per section, per channel. In essence making UV image maps from already existing texture mapped geometry.
There were a few hurdles in the process. Primarily the way certain polygons were being handled in Maya. They required small fixes in the geometry. Again not complex, just time consuming (chalk it up to cleanup). So that's it, another day, another dollar. To catch a glimpse of the final ship, tune in to the Sci-Fi channel, or SyFy rather...
 Share Article Entertainment, Work